Over the years, one of the greatest causes of anxiety is the seating chart for the wedding reception dinner. Let’s try to see why and then look at some options that may alleviate the stress.
There are some guests who would be welcome at any table; at the other extreme, there are some for whom separate dining reservations should be made in a nearby restaurant, allowing the other wedding reception guests to have a really good time.
Some guests enjoy talking constantly, while others are quite content to listen throughout the meal. This list can go on forever…
So, how do you put the right mix of guests at each of the tables, ensuring a happy dining experience for everyone?
Here are some steps to guide you:
-
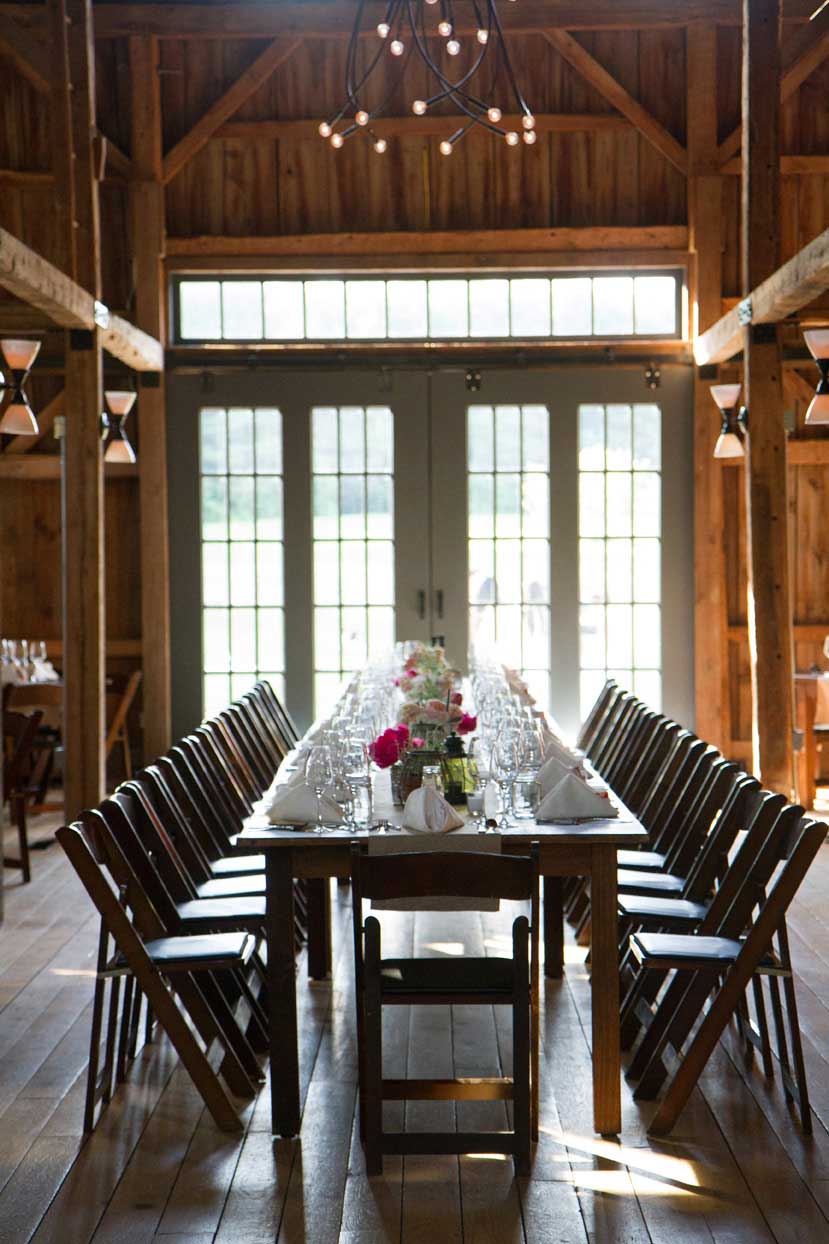
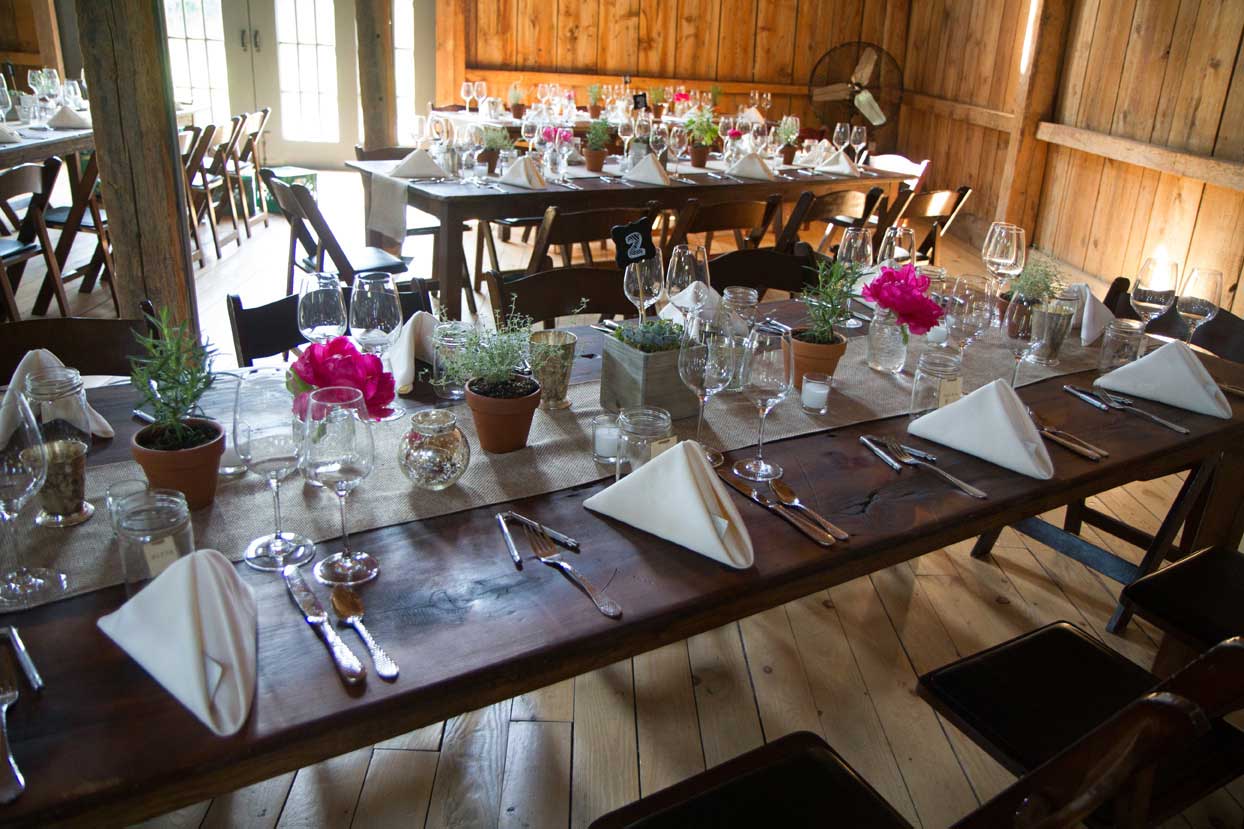
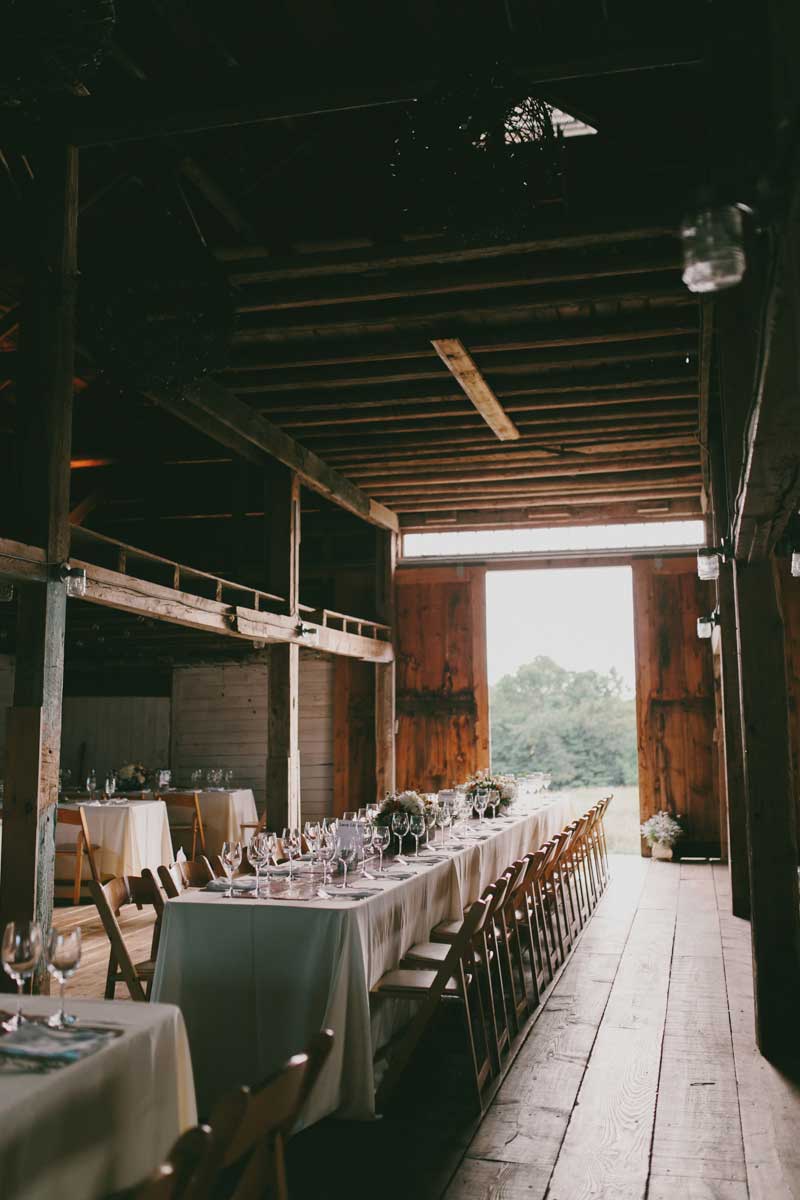
First, determine the size and shape of the tables you’ll use for guest dining, since this will dictate your seating groups. The rule of thumb is that a 60” square table, a 60” round table, and a 30”x96” rectangular table will each provide seating for eight to ten people, while a 72” diameter round table will seat ten to twelve. Another thing to bear in mind is that rectangular tables have the shortest distance from side to side, making for easier conversation between guests.
-
Next, create a layout for the tables. Using the dimensions of the dining venue, create a template, then determine the locations for the bar, dance floor, musicians, and buffet tables (or not if the meal is plated/family style). Next, place the number and sizes of the tables you will be renting within the remaining space on the template.
-
Categorize the invitees (who can sit at the same table vs. who cannot). For instance, Aunt Mary and Cousin Ellen have not spoken for eight years and do not like each other … so, separate tables. Or, Bill S. and Jim K. are great friends and so are their wives … so, same table. This task requires knowing a bit about the guests, so if you’re working with a list provided by the future in-laws, have them provide some guidance.
-
Determine the number of tables needed and seats per table; if the number of tables is twenty, then use twenty small containers, label them (1 through 20), and indicate the number of seats on each numbered label.
-
Take the list of all attending guests and make a name label for each attendee.
-
Begin with all of the “difficult” guests’ name labels and assign them to tables first (possibly in the four corners of the room!) Then put the name labels of those who need to be at any VIP tables in the VIP containers. Last, take the remaining names and place them randomly throughout the numbered containers. You will find it easier not assigning guests to specific seats at their respective table – believe it or not, often guests move to the seat they prefer once they see where you’ve assigned them (even to another table!) You can save yourself a lot of time and angst by letting them sit where they want at their assigned table.
One last tip is to try to have just the exact number of seats as the table will hold. That means that if you have a table that ends up with only six guests (rather than eight) make sure your venue can provide a 48” diameter round table (seating six). Hint: if you are a real techie and enjoy learning new software, we use one titled “PerfectTablePlan” which can create many helpful diagrams and lists…and even print out the place cards.
Most important about this entire process is to remember that your guests are only seated at their assigned table for short periods. How difficult will it be for them to be seated next to or across from someone they may not know for twenty to twenty-five minutes? Hopefully, not very!